Airnet - Hardware Installation (DTiVo)
Hardware installation instructions for installing an AirNet card into a DTiVo:
Step 1: Remove cover.
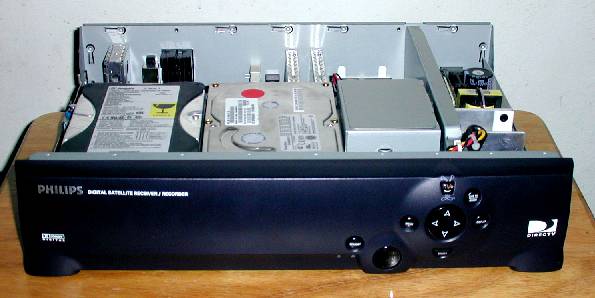
The Philips DSR6000 (pictured) has four screws on the back and the cover slides back before lifting off.
Step 2: Remove the hard drive structure.
Remove the two screws holding the hard drive structure to the chassis and carefully remove while taking care to unplug the fan and the hard drive cables.
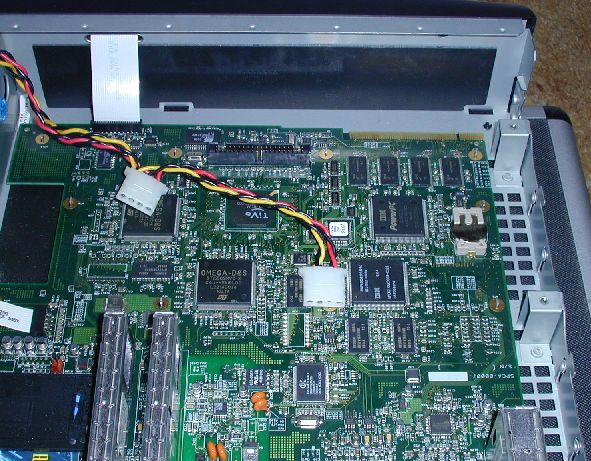
The DirectTV Tivo is based on a IBM PowerPC 403GCX running at 66MHz. There is a PCI-like edge connector on the front of the motherboard that bonds out most of the PowerPC bus pins.
Step 3: Install the AirNet card.
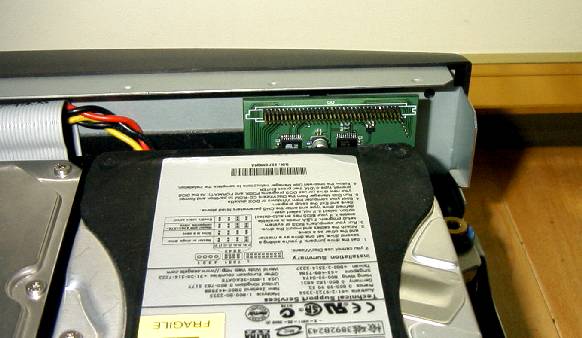
Push the AirNet board (without the PCMCIA card) into place by applying even pressure to the back of the board (this is not as easy as it sounds as the connector is a tight fit). Make sure that the board is completely pushed on and even on both sides.
Step 4: Put hard drive structure back, install 802.11b card.
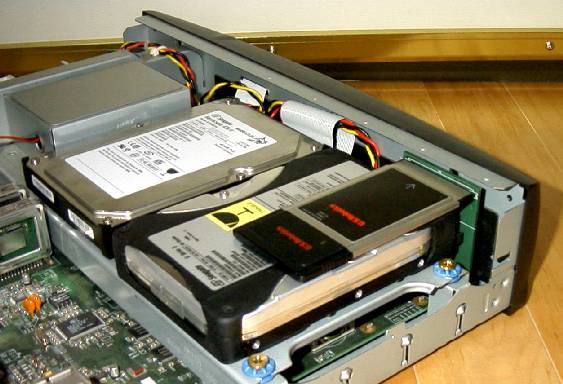
Reconnect the hard drive cables and reinstall the hard drive structure. Don't forget to reconnect the fan.
Install the 802.11b card face up.
Warning: Make 100% that the card is correctly positioned on the connector. If only one row of pins is connected then damage to your TiVo, AirNet card, and/or 802.11b card may occur.